
Appearance
EMR
EMR User Guide
A plain-language guide to using the EMR system day to day. This is written for clinic staff, not developers.
Who this is for
The system has one login for everyone, but what you see depends on your assigned role(s) — the sidebar only shows the sections you have access to, and a section that isn't visible to you simply isn't part of your job in the system. Pick the guide that matches what you do:
| If you... | Read |
|---|---|
| Register patients, book appointments, check patients in | Front Desk |
| See patients, run consultations, order tests, prescribe | Doctor Workspace |
| Support consultations (vitals, etc.) | Doctor Workspace — the vitals/orders sections apply to nurses too |
| Collect samples, enter/verify lab results | Laboratory |
| Schedule imaging, enter/verify radiology reports | Radiology |
| Collect payments, manage invoices, handle insurance claims | Billing & Payments |
| Track vendor bills and clinic expenses | Accounting |
| Review dashboards, run reports, check the audit trail | Reports & Dashboard |
| Manage users, roles, branches, doctors, master data, system settings | Administration |
Signing in
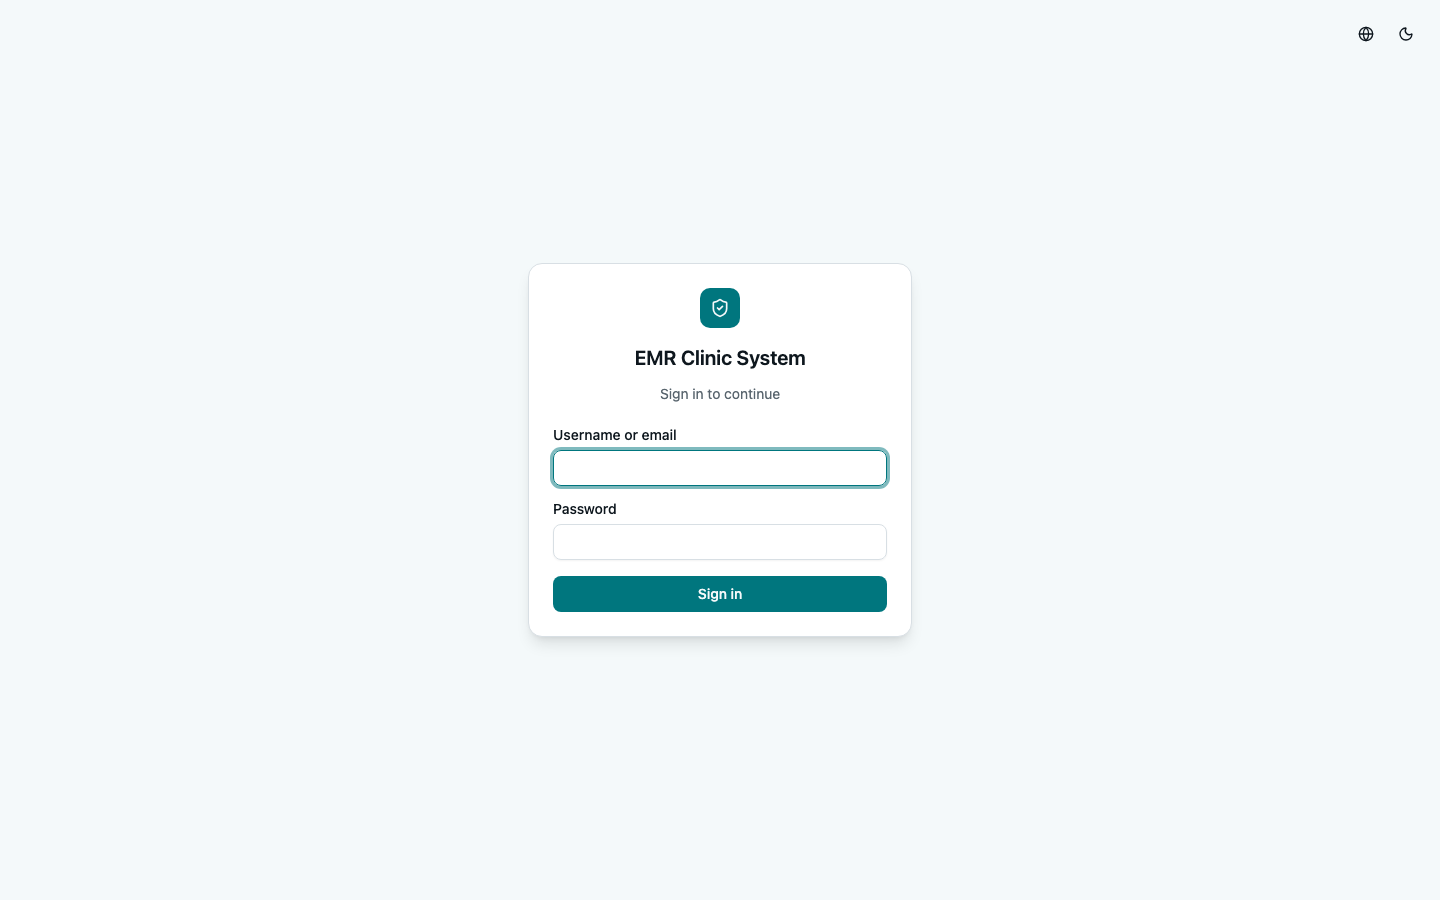
Go to the login page and enter your username or email and password, then Sign in. If your account has two-factor authentication enabled, you'll be asked for a 6-digit code from your authenticator app next — enter it and select Verify.
- Enter the wrong password too many times and your account is temporarily locked — wait and try again, or ask an administrator to unlock it (see Administration).
- If your account has been deactivated, you'll see "Account is deactivated" — contact your administrator.
- The system logs you out automatically after a period of inactivity (your administrator controls how long). Just sign in again — nothing is lost, since you'd only be logged out between actions, not mid-form.
Setting up two-factor authentication (optional, per-user)
Open your name in the top-right corner → Security settings. Under Two-factor authentication (TOTP), select Enable two-factor authentication, scan the QR code with an authenticator app (Google Authenticator, Authy, etc.) — or type in the code shown below the QR code manually — then enter the 6-digit code it generates and select Confirm. From then on, signing in asks for that code as a second step. To turn it off, come back to this page and select Disable.
Finding your way around
- Sidebar (left): every section you have access to. Sections you don't have permission for simply don't appear — this isn't a bug, it's your role.
- Top bar: your current branch, a language switcher (English, Español, Français, العربية — Arabic switches the whole layout to right-to-left), a light/dark theme toggle, and your account menu (Security settings, Sign out).
- Every list screen has a search box and most have filters (date range, status, doctor, department, ...) above the table.
- Wherever you see money, it's shown as
SYMBOL amount— e.g.OMR 150.000— with the symbol and decimal places your administrator configured (see Administration).
Common actions you'll see everywhere
- Active / Inactive toggles instead of delete buttons — almost nothing in the system is permanently deleted (a patient, a doctor, a price list item, a vendor). Deactivating something removes it from pickers and lists without breaking the historical records that reference it. If you don't see something you expect in a dropdown, check whether it's been deactivated.
- Status badges (e.g. "partially paid", "awaiting verification") — color-coded, and clicking many of them opens the history of how that status changed and by whom.
- PDF buttons (Printer/Download icons) — open a formatted, printable document in a new view. Whether it includes your clinic's letterhead (logo, license/tax numbers) at the top is controlled centrally — see Administration.
- If an action is missing that you expect to have — a button, a whole menu section — that's a permissions setting, not a bug. Ask an administrator (see Roles & Permissions).