
Appearance
EMR
Front Desk
Covers Patients, Appointments, and Visits — registering patients, booking and checking in appointments, and tracking today's queue.
Registering a new patient
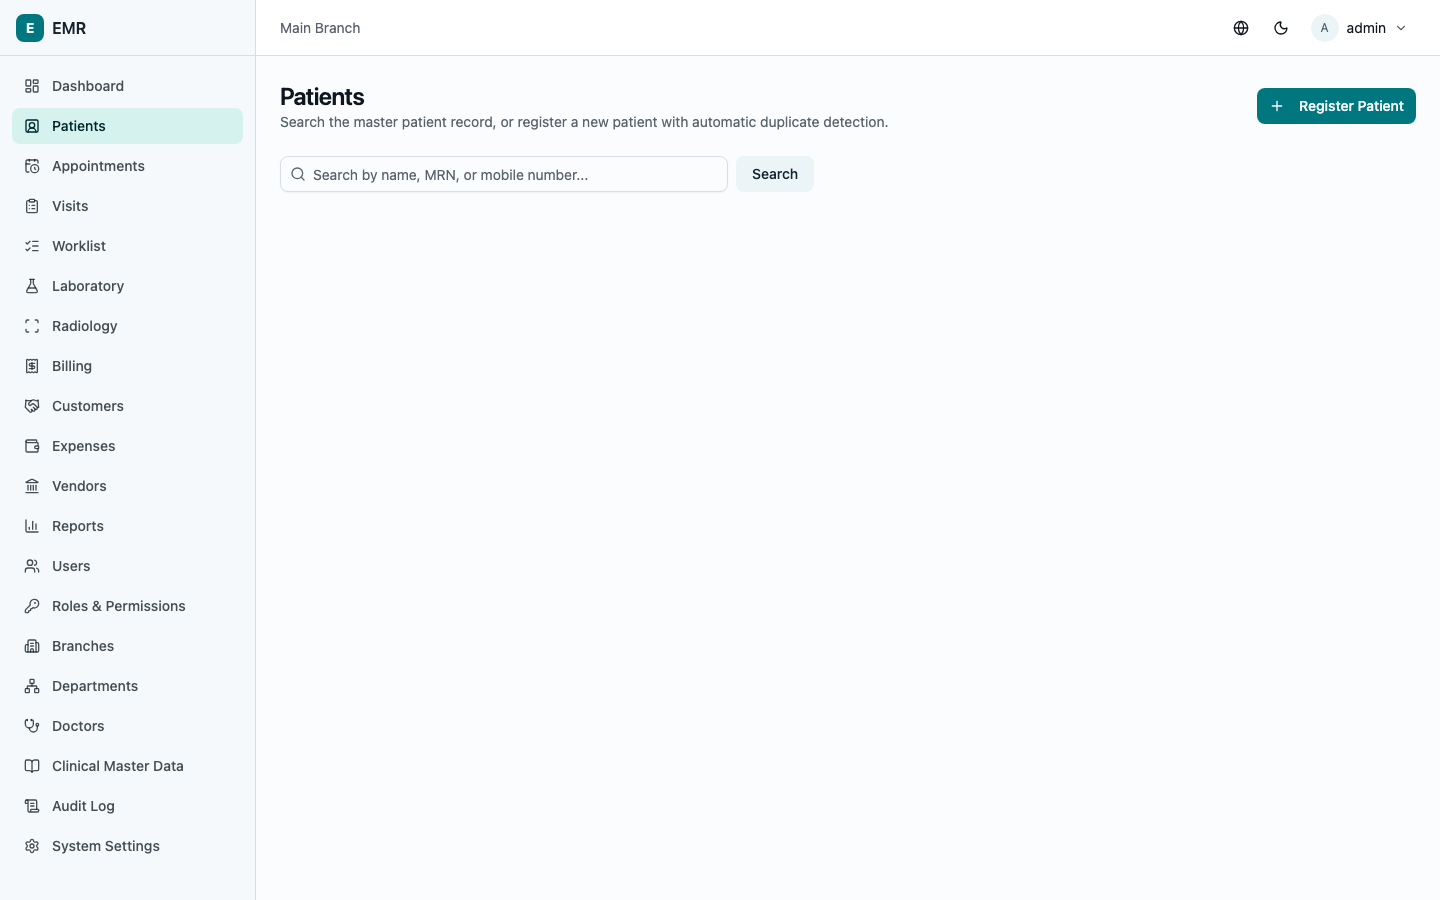
Go to Patients and select Register Patient.
As you type the patient's First name, Last name, Date of birth, Mobile number, or ID number, the system automatically checks for possible duplicates in the background. If it finds a match, a warning banner appears listing the matching record(s) and why they matched (phone, name + date of birth, or ID number). For each match you can select View existing to open that record instead of creating a new one. If you're sure this is genuinely a different person, tick "This is a different person; register a new record anyway" before submitting.
Fill in the rest of the form — demographics, contact details, address, ID type/number, blood group, emergency contact, and (if this patient's visits should be billed to an insurer or employer rather than paid directly) the Customer (Insurance/Corporate) field with their Member / policy ID. Only First name and Mobile number are required. Select Register patient — you'll land on the new patient's record, which now has a permanent MRN (medical record number).
Finding a patient
The Patients list has a search box — type a name, MRN, or mobile number and select Search. Selecting a row opens that patient's full record.
The patient record
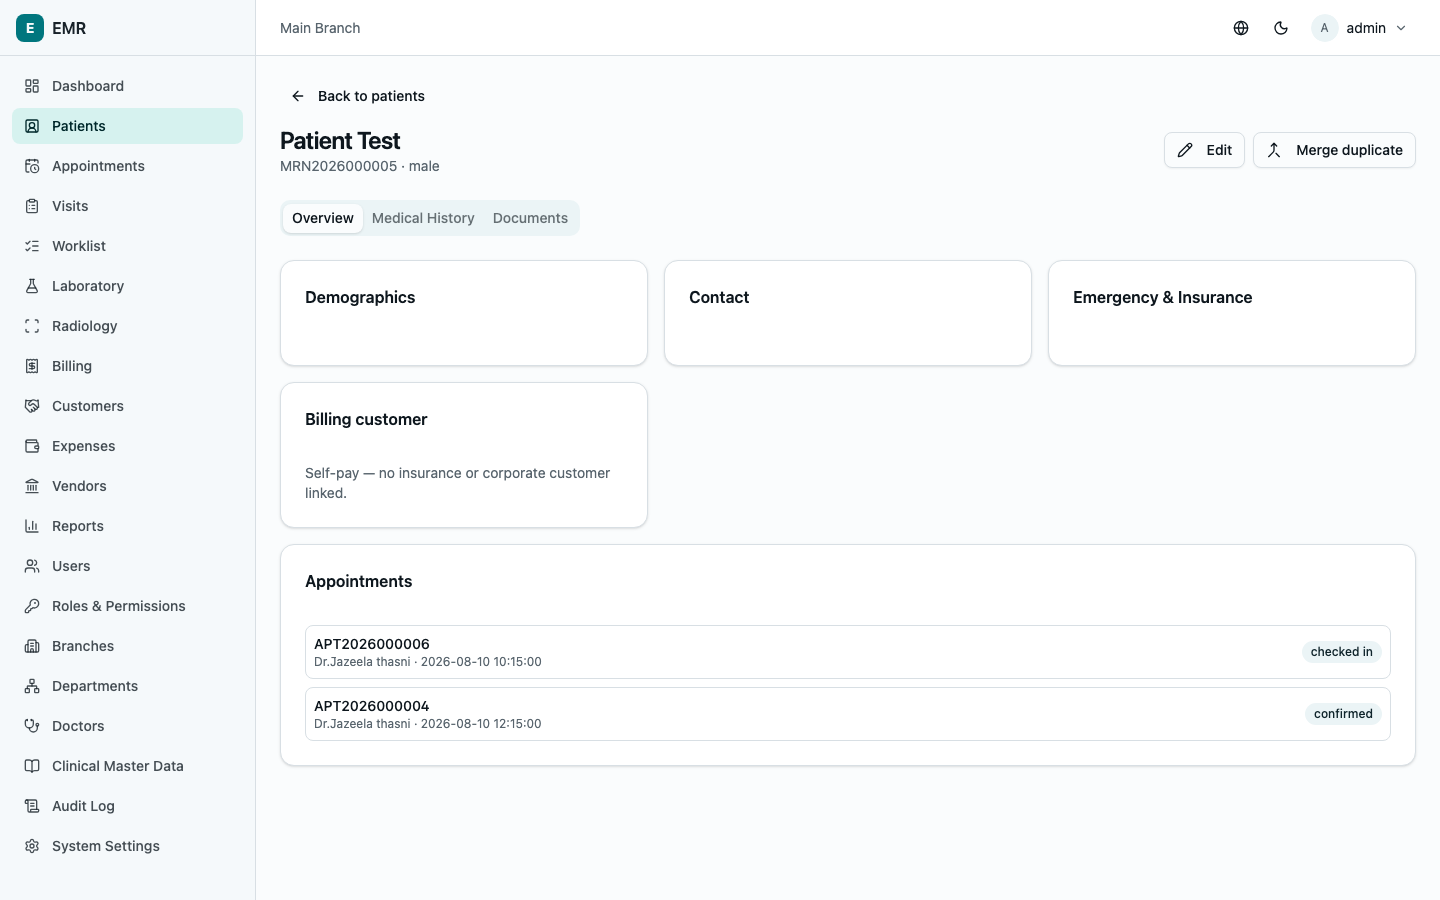
Three tabs:
- Overview — demographics, contact, emergency contact, insurance/ billing customer, and upcoming appointments.
- Medical History — every past visit with its diagnosis, treatment plan, prescriptions, and orders, most recent first. Select Open consultation on any visit to jump into it (if you have consultation access).
- Documents — uploaded files for this patient (previous medical records, referral letters, consent forms, etc.). Select Upload document, choose a Type and Title, attach a File (PDF, DOC/DOCX, JPG, or PNG, up to 20MB), and select Upload.
If you have edit access, an Edit button opens the same form used at registration to update any field. A patient's MRN never changes, and if you spot two records for the same person, use Merge duplicate: enter the other record's MRN, confirm, and every visit/appointment on that record moves to this one while the duplicate is deactivated. This can't be undone, so double-check the MRN first.
Booking an appointment
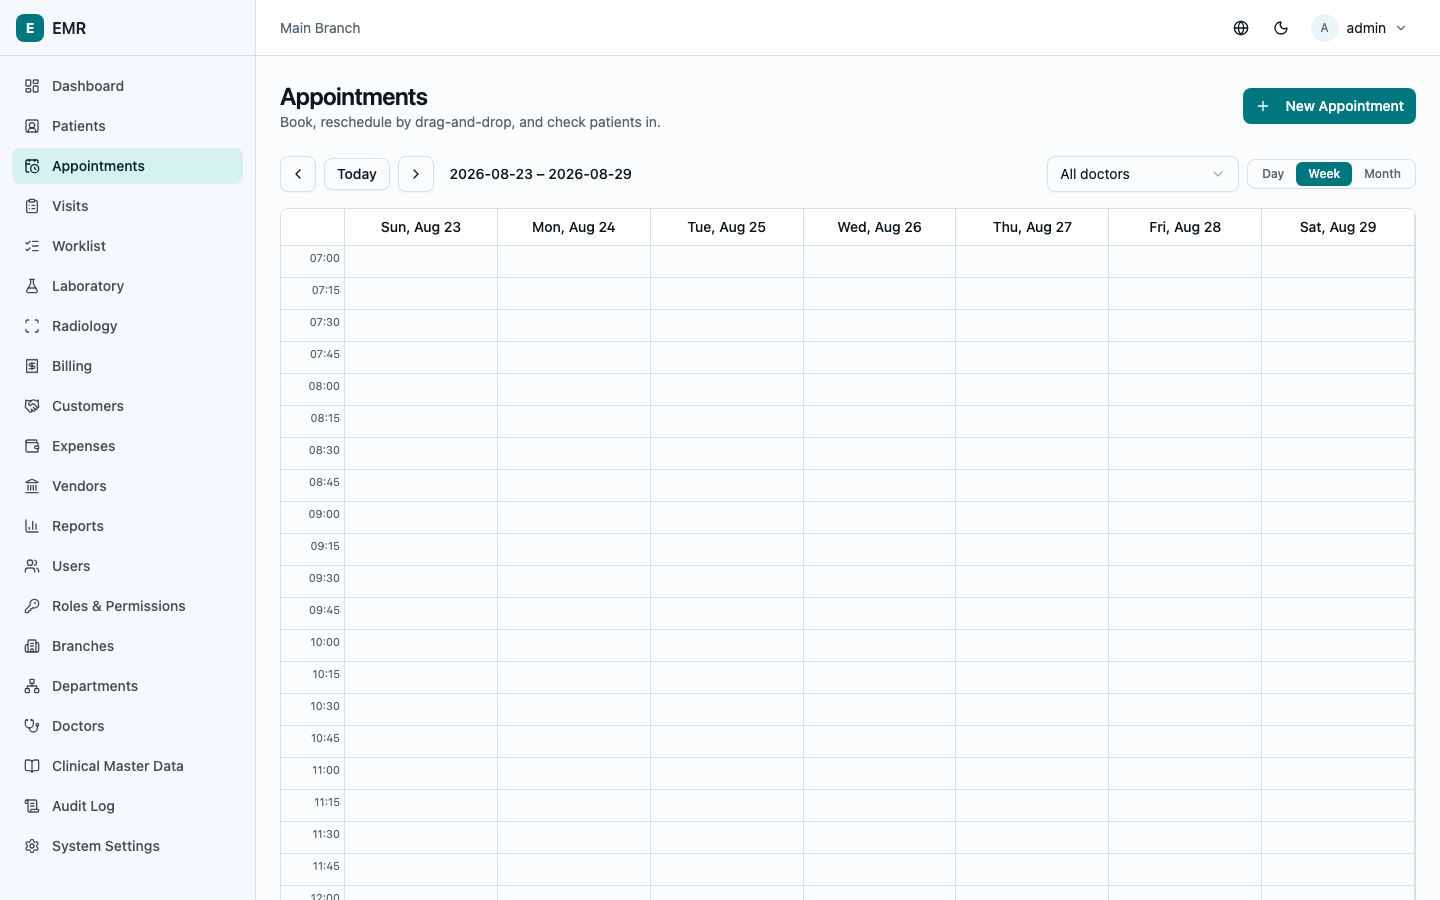
Go to Appointments. The calendar defaults to week view — switch between day / week / month with the view toggle, and use Today or the arrow buttons to move around. Select New Appointment.
Choose Existing patient (search by name or mobile, then select them — or Change to search again) or New / walk-in patient (just enter a name, mobile, and gender — a full patient record gets created automatically the moment they're checked in). Pick the Doctor, Department, Date, Start time/End time, an optional Visit reason, and any Notes, then select Book appointment.
The calendar books in 15-minute slots so you can see and schedule short or irregular appointments precisely. You can also drag an existing appointment to reschedule it.
Checking a patient in
Open the appointment (select it on the calendar) and select Check in. This creates the clinical Visit record, issues a queue token, and — if the doctor has a consultation fee set — immediately asks: "Collect the consultation fee now, or skip and bill it later from Billing?"
- Collect $X now — pick a payment method and it's recorded immediately; done.
- Skip for now — no charge is recorded at all. The visit will show up as unbilled on the Billing screen later, and whoever collects cash at the counter must remember to bill it there — skipping here does not create any record of payment, even if money changed hands. When in doubt, collect it now instead of skipping.
You can also cancel an appointment (Cancel appointment, destructive — can't be undone) from the same screen.
Today's Visits
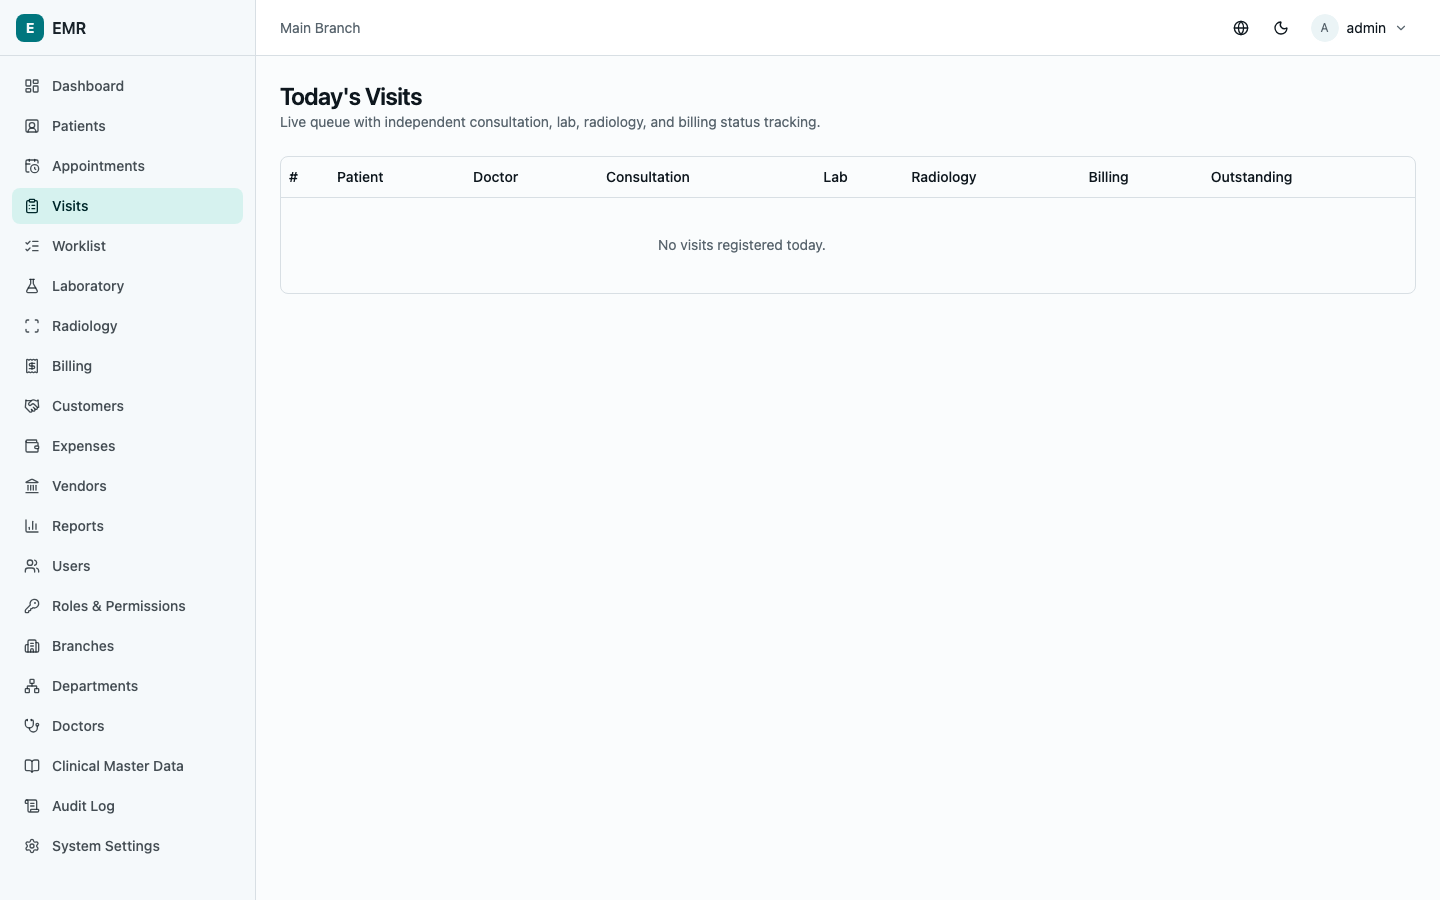
The Visits screen is the live queue for the day: every checked-in visit with four independent status columns — Consultation, Lab, Radiology, Billing — plus Outstanding balance. These move independently; a visit can be fully paid while lab results are still pending, or vice versa. Selecting a status badge opens its history and (if you have edit access) lets you update it directly, with an optional remarks note.