
Appearance
EMR
Administration
Covers Users, Roles & Permissions, Branches, Departments, Doctors, Clinical Master Data, and System Settings — for administrators setting up and maintaining the system.
Users
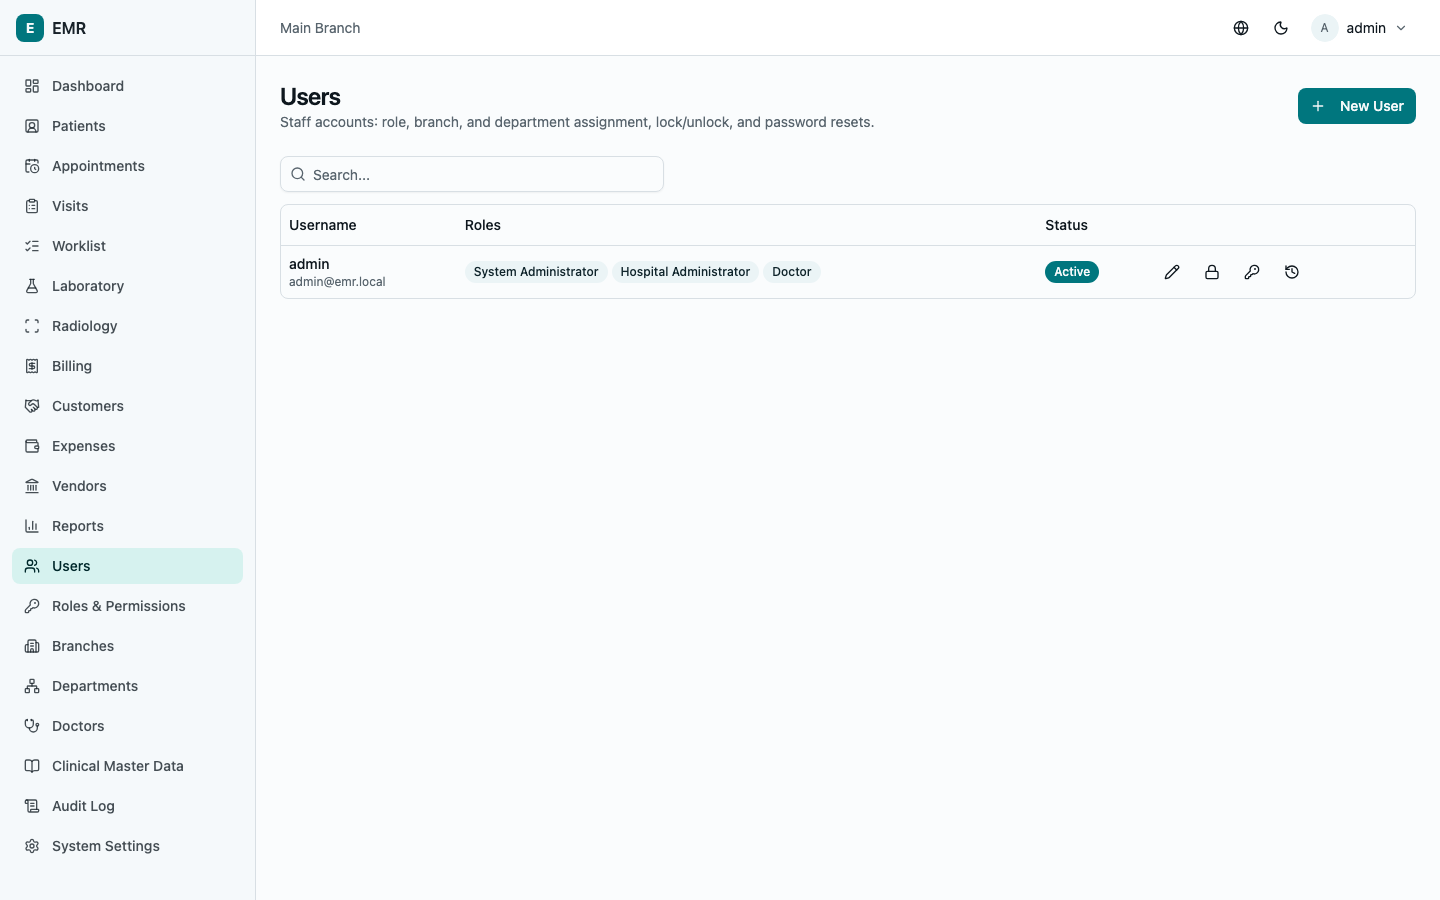
Go to Users to see every staff account — username, assigned roles, and status (Active/Locked/Inactive). Select New User to create one: Username, Email, First/Last name, optional Employee ID and Phone, a Password (leave blank to auto-generate one), which Roles they hold globally, and which Branches/Departments they belong to.
Per-row actions (icon buttons): Edit, Lock/Unlock (a manual lock that overrides everything else — use it to immediately cut off access, e.g. when someone leaves), Reset password, and Login history (every login attempt, success or failure, with time and IP).
Department-scoped roles
Beyond the global Roles checklist, a user can hold a role limited to just one department — e.g. "Nurse" but only for Cardiology. Open the user, find Department-scoped roles, and add a Role + Department pair. A user can hold the same role both globally and scoped to specific departments at once (they're independent grants). This is what makes someone's visits/appointments/orders/lab/radiology visibility narrow to just their department — see Roles & Permissions below for the difference between having an ability and which rows you can use it on.
Roles & Permissions
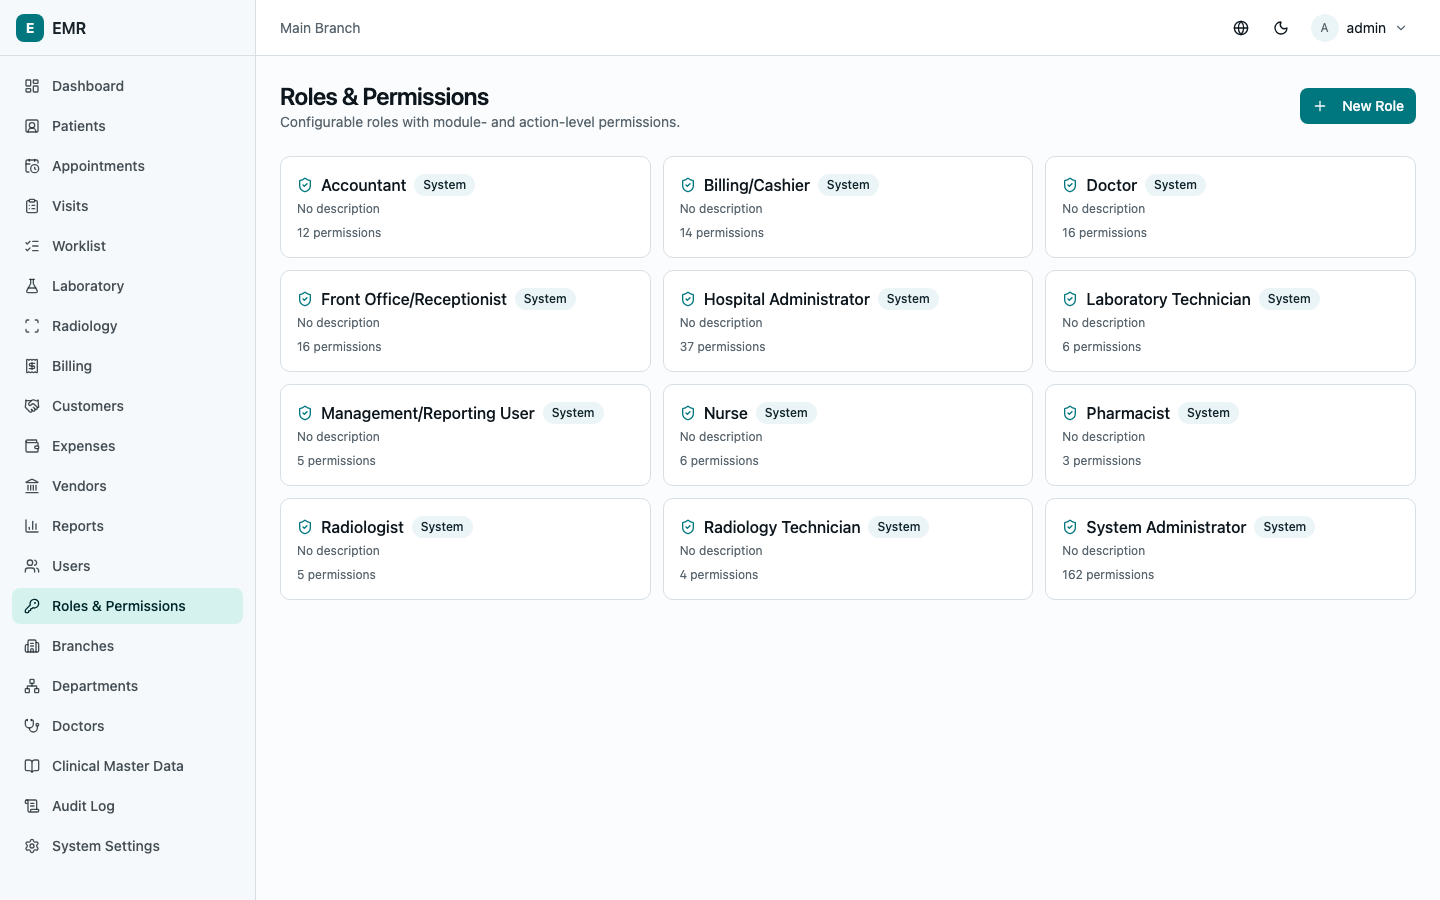
Go to Roles & Permissions. Each role is a named bundle of grants — select one to open its editor, or New Role to start from scratch. The 12 built-in roles (System Administrator, Hospital Administrator, Front Office/Receptionist, Doctor, Nurse, Laboratory Technician, Radiologist, Radiology Technician, Pharmacist, Billing/Cashier, Accountant, Management/Reporting User) are starting points — edit their grants freely, they just can't be deleted outright (marked System).
The permission grid is module × action: every section of the system (Patients, Billing, Accounting, Reports, ...) down the side, and what a role can do to it (view/create/edit/delete/approve/print/download/share/ verify) across the top. Tick the boxes for what this role should be able to do, then Save changes. Two things worth understanding:
- What you can do (this grid) is separate from which patients' data you can see — that second part is set per-user via department-scoped role assignments (see Users above), not here.
- Least privilege is the default — a new role starts with nothing ticked. Grant only what the job actually needs.
Branches & Departments
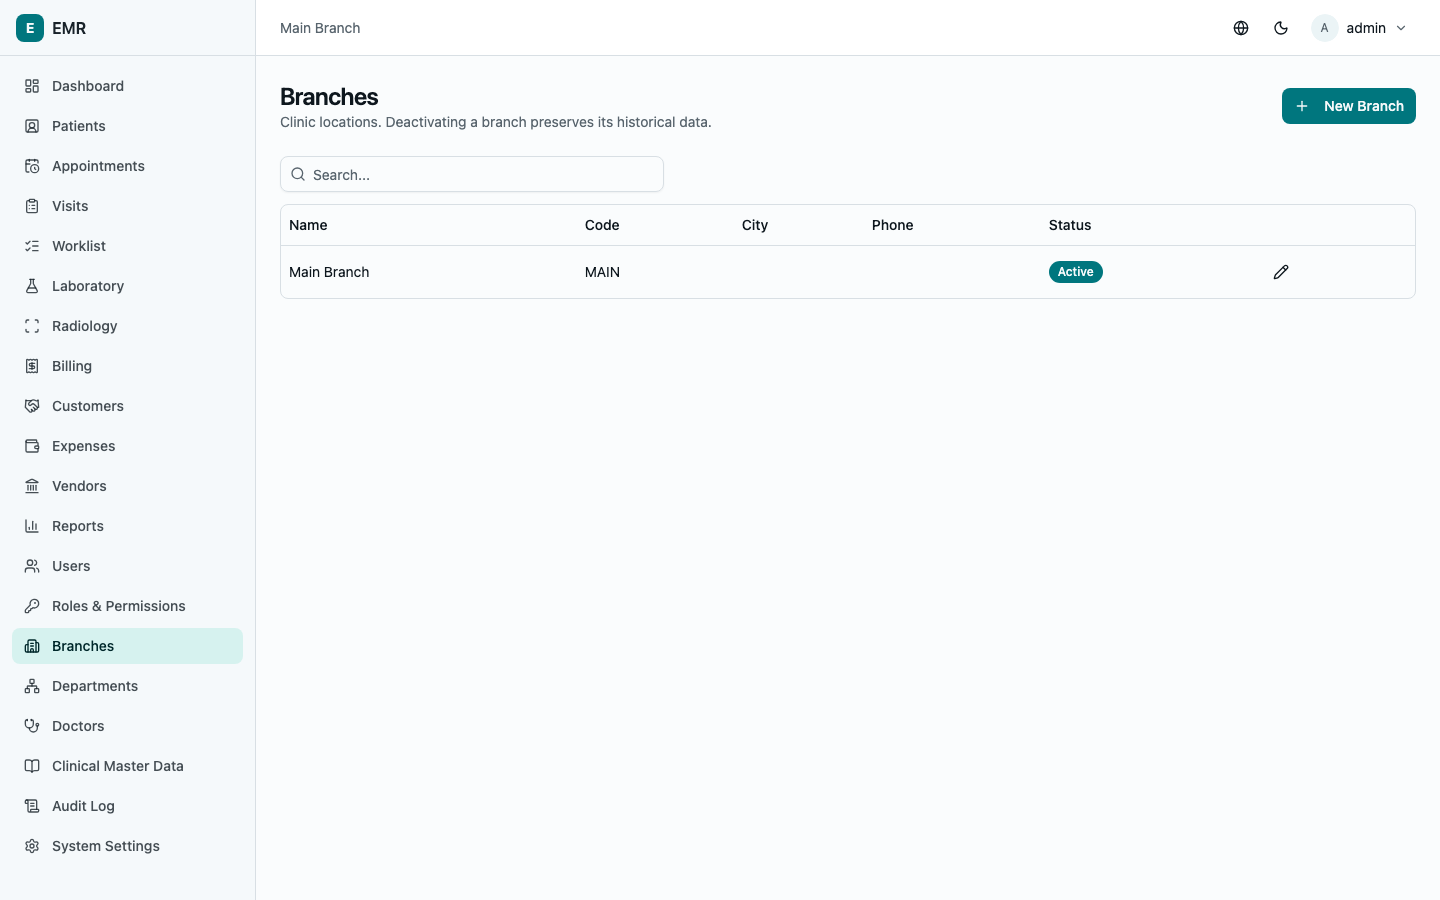
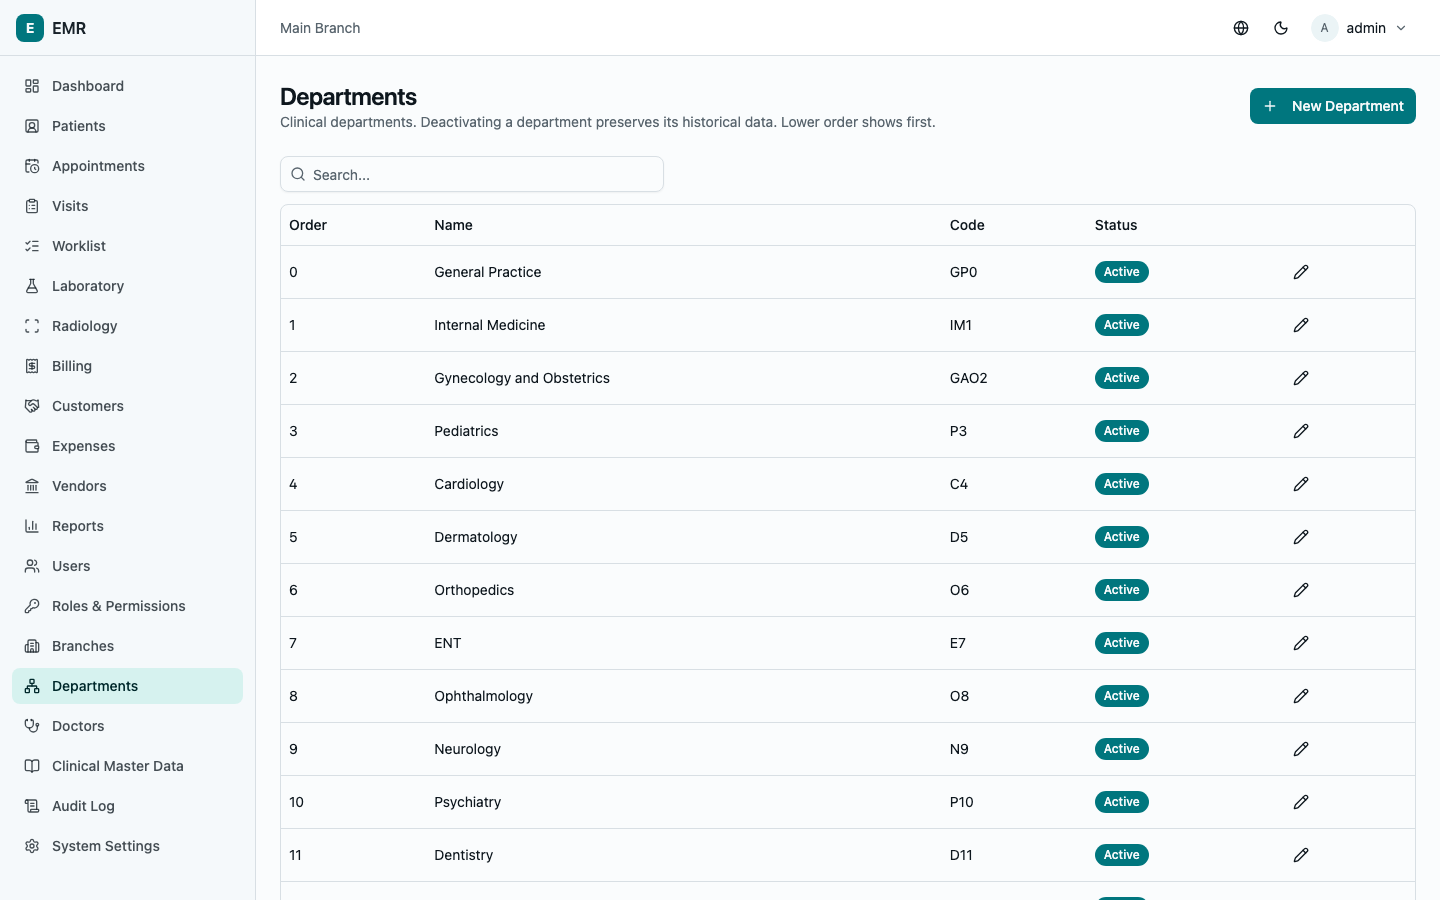
Branches are physical clinic locations; Departments are clinical departments (Cardiology, Pediatrics, ...). Both are simple lists — name, code, contact details, and an Active toggle. Departments also have a sort order controlling where they appear in dropdowns throughout the system.
Doctors
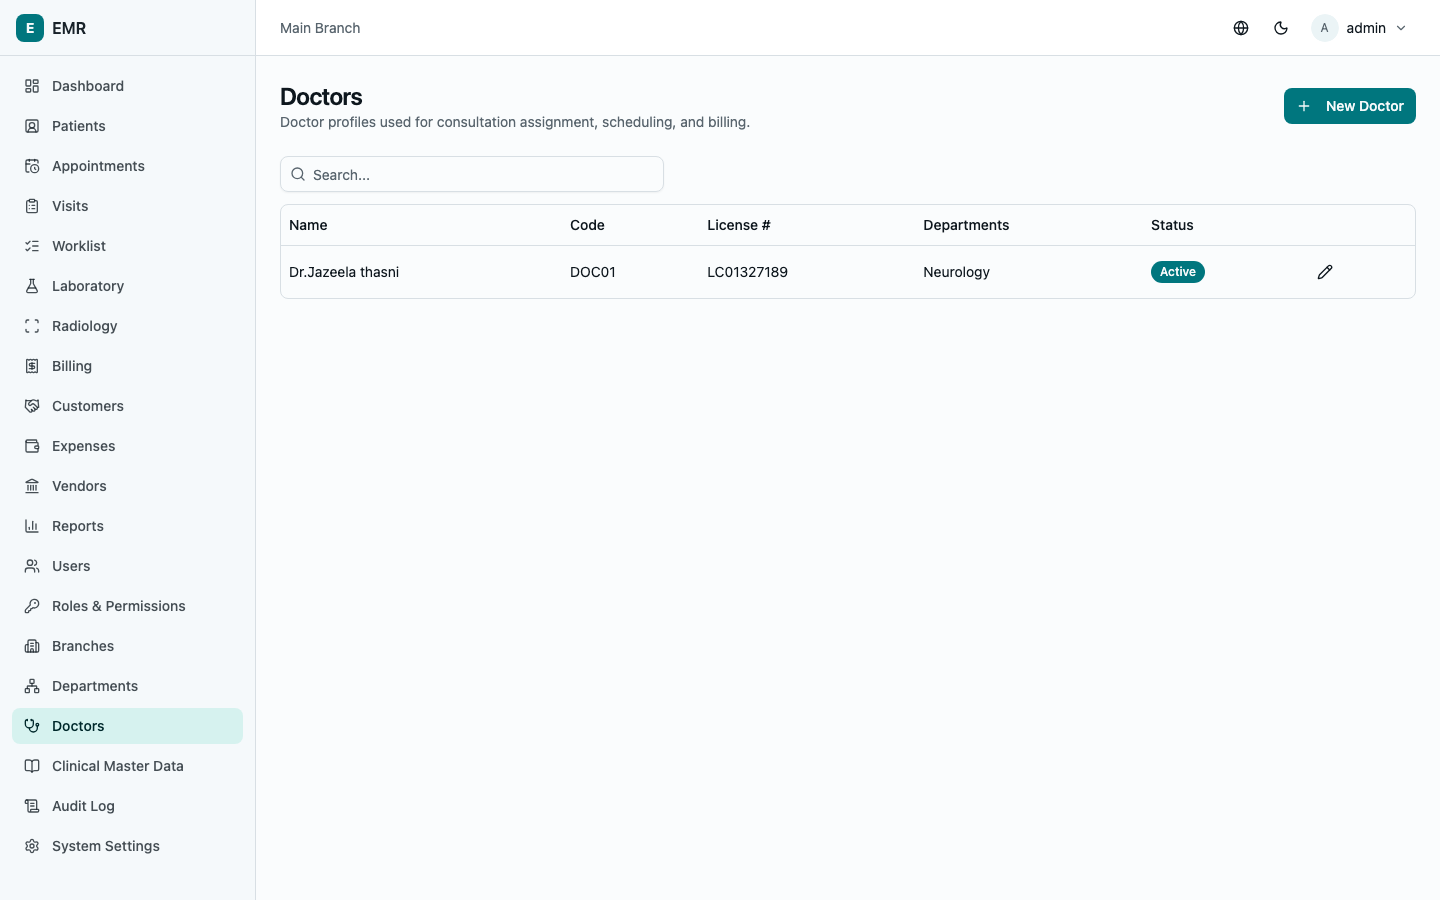
Go to Doctors and select New Doctor to add a profile: name, contact details, License number/expiry, Qualification, which Departments/Branches/Specializations they belong to, their Consultation fee and Follow-up fee (used to auto-price the consultation charge at check-in), Appointment duration (drives how the booking calendar slices their available slots), and Follow-up validity (days). A doctor's recurring weekly availability (which days/ hours they see patients at which branch) is configured separately as part of the appointment scheduling setup.
Clinical Master Data
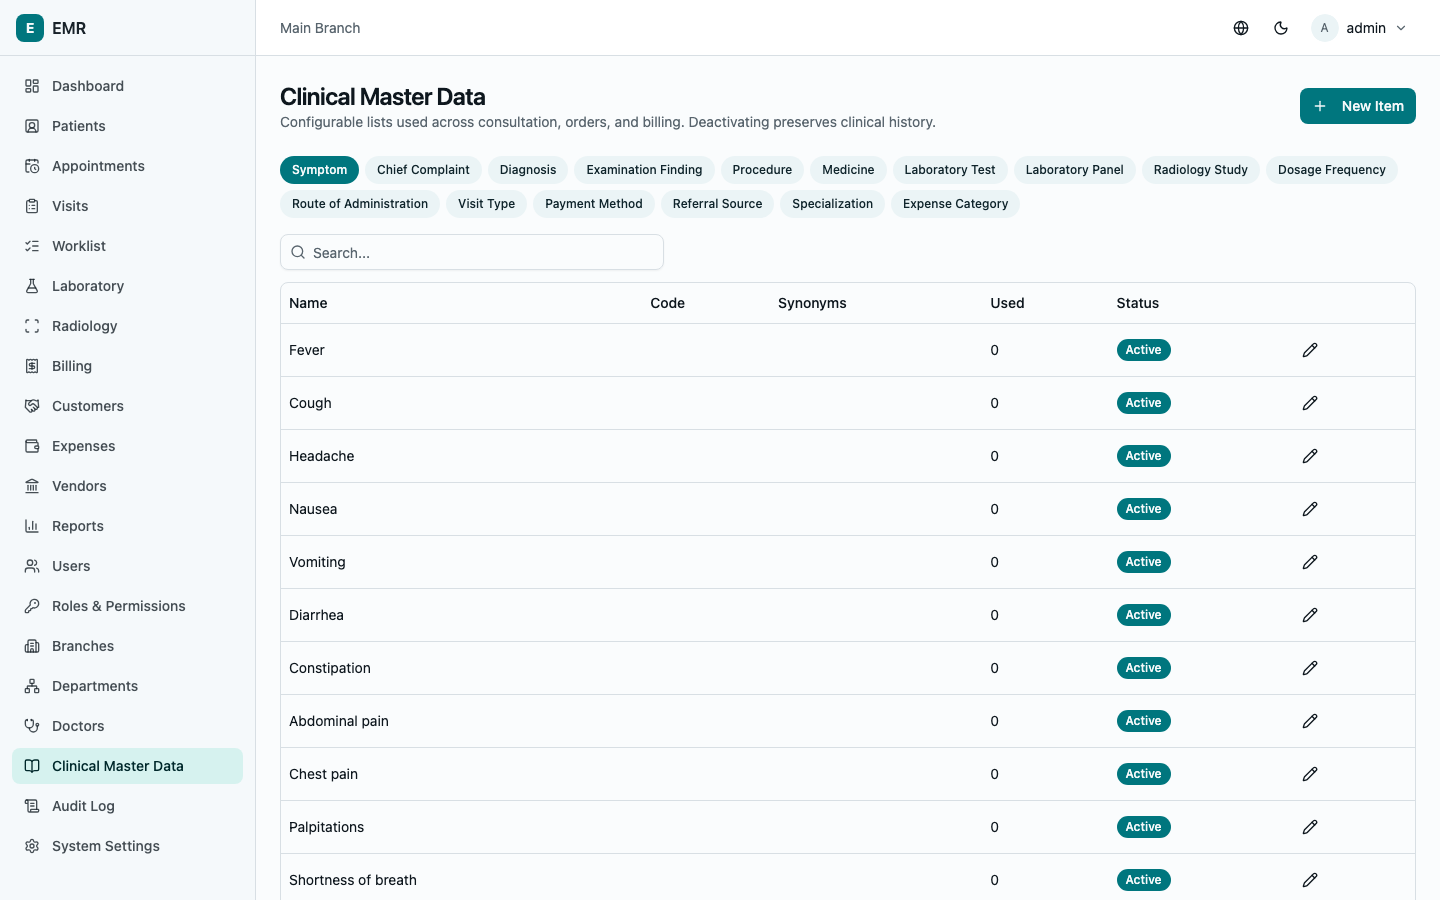
Go to Clinical Master Data — one screen configures every pick-list used throughout consultation, ordering, and billing: symptoms, chief complaints, diagnoses, examination findings, procedures, medicines, lab tests, lab panels, radiology studies, dosage frequencies, routes of administration, visit types, payment methods, referral sources, specializations, and expense categories. Pick a Category, select New Item, give it a Name (and optional Code — e.g. an ICD code for a diagnosis), Sort order, and Synonyms to help search find it. Deactivate items you no longer want offered instead of deleting them — this preserves the clinical/financial history that already references them.
Lab tests and radiology studies need one extra setup step beyond this screen — their pricing, specimen/modality details, and (for lab tests) reference ranges — done from the Configure Tests/Configure Studies links on the Laboratory/Radiology worklist pages.
System Settings
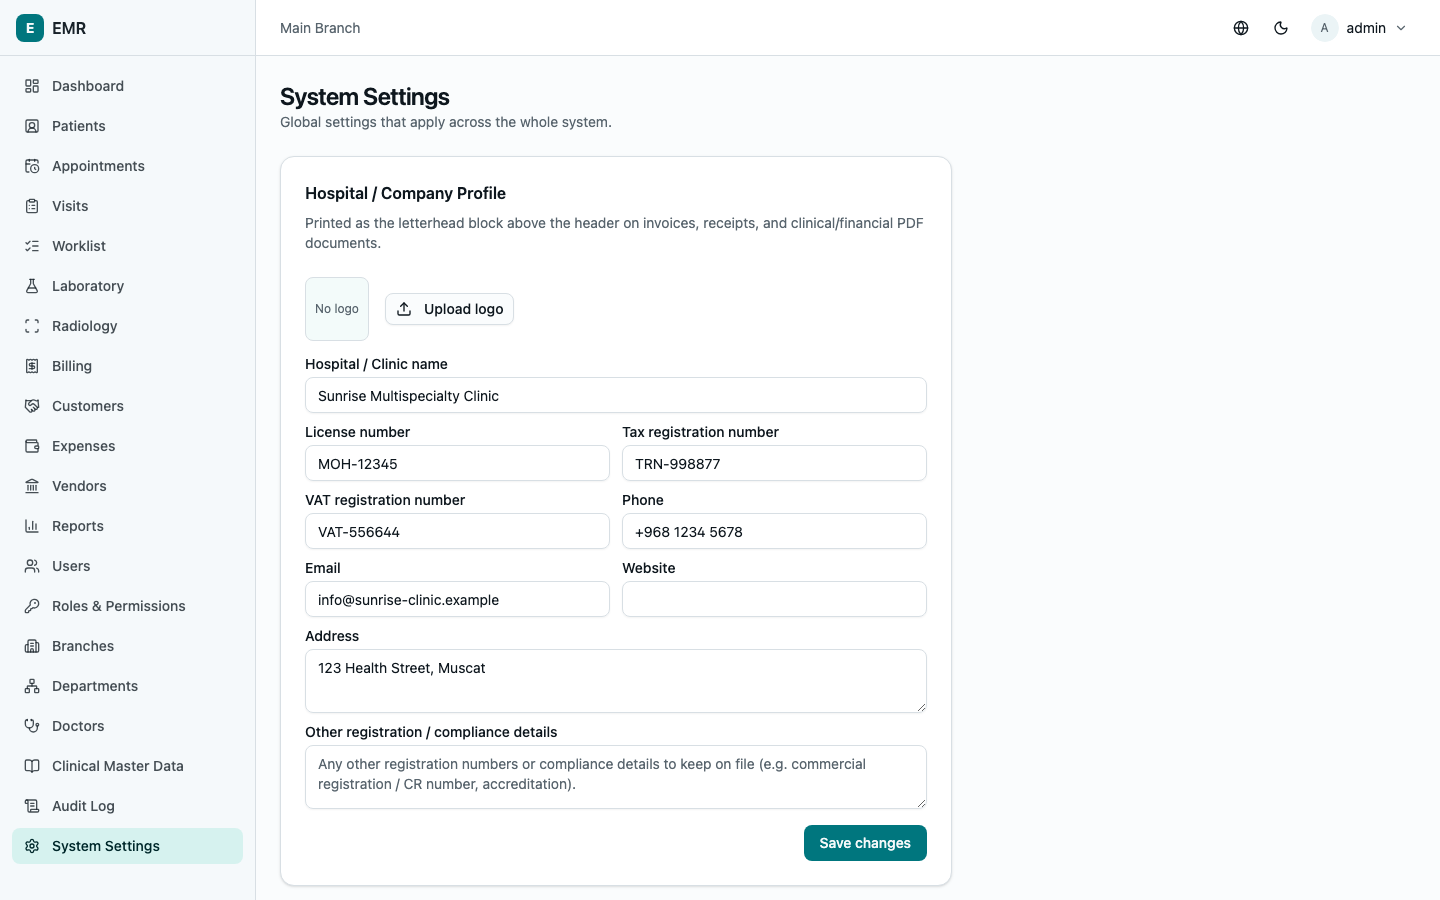
Go to System Settings. Three sections:
- Hospital / Company Profile — your clinic's name, logo, license number, tax/VAT registration numbers, contact details, and any other registration details you want on file. This prints as a letterhead block at the top of every generated PDF (invoices, receipts, medical summaries, lab/radiology reports, revenue and P&L reports).
- Document Printing — a single switch, Letterhead header enabled/disabled. Turn it off if you print onto paper that already has your clinic's letterhead pre-printed, so it isn't printed twice; each document's own content still prints either way. Takes effect immediately on the next PDF generated.
- Currency — the Currency code, Currency symbol, and Decimal places used everywhere money is shown or printed across the whole system, with a live preview before you save.